Appointment v2 - Customer site
Appointment v2 - Customer site
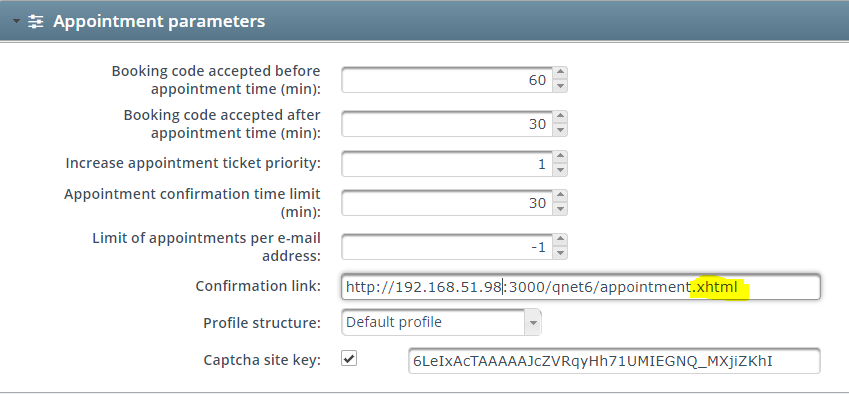
You can reach Appointment module version 2 by removing the .xhtml extension from the URL.
For example: http://qnetserver:3000/qnet6/appointment
How to setup your appointment module?
Central settings / Branch settings
Opening page / Language selection
After opening your appointment URL you will see the home page of the site and the opportunity to select a language on the top right corner of the page from the enabled/added languages at your Q-net administration site.
Note: Appointment module will automatically use your browsers default language if it is included in your Q-net system.
How to add languages to the system
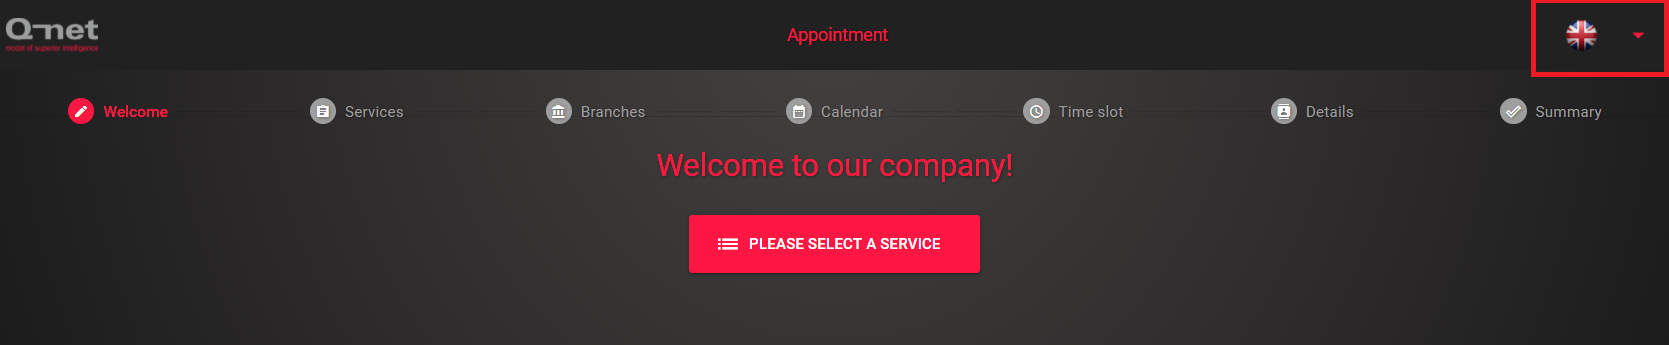
By clicking on the PLEASE SELECT A SERVICE button, you can proceed to the next step which is service selection.
Service selection
At this part of the process you can select which service you would like to book an appointment to.
Profile setup for appointment module.
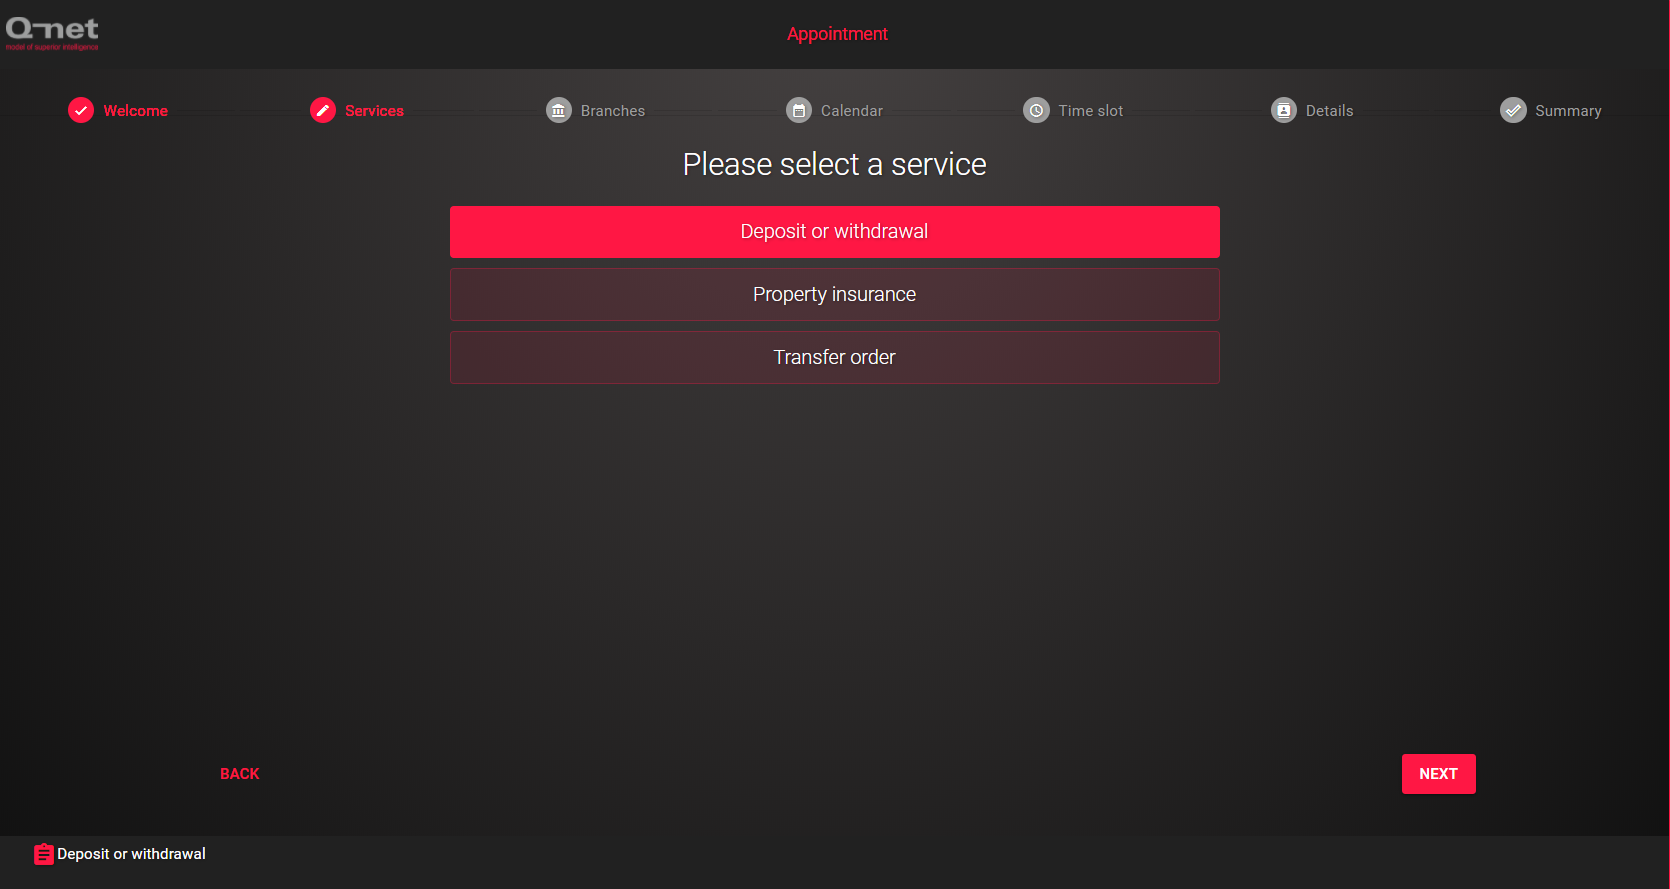
Clicking NEXT button will navigate you to branch selection.
Branch selection
After selecting your service you have to choose which branch you would like to book to. Branches available for the chosen service are listed in order by distance as default but if you have Branch groups you can switch to that view and select the branch of your will.
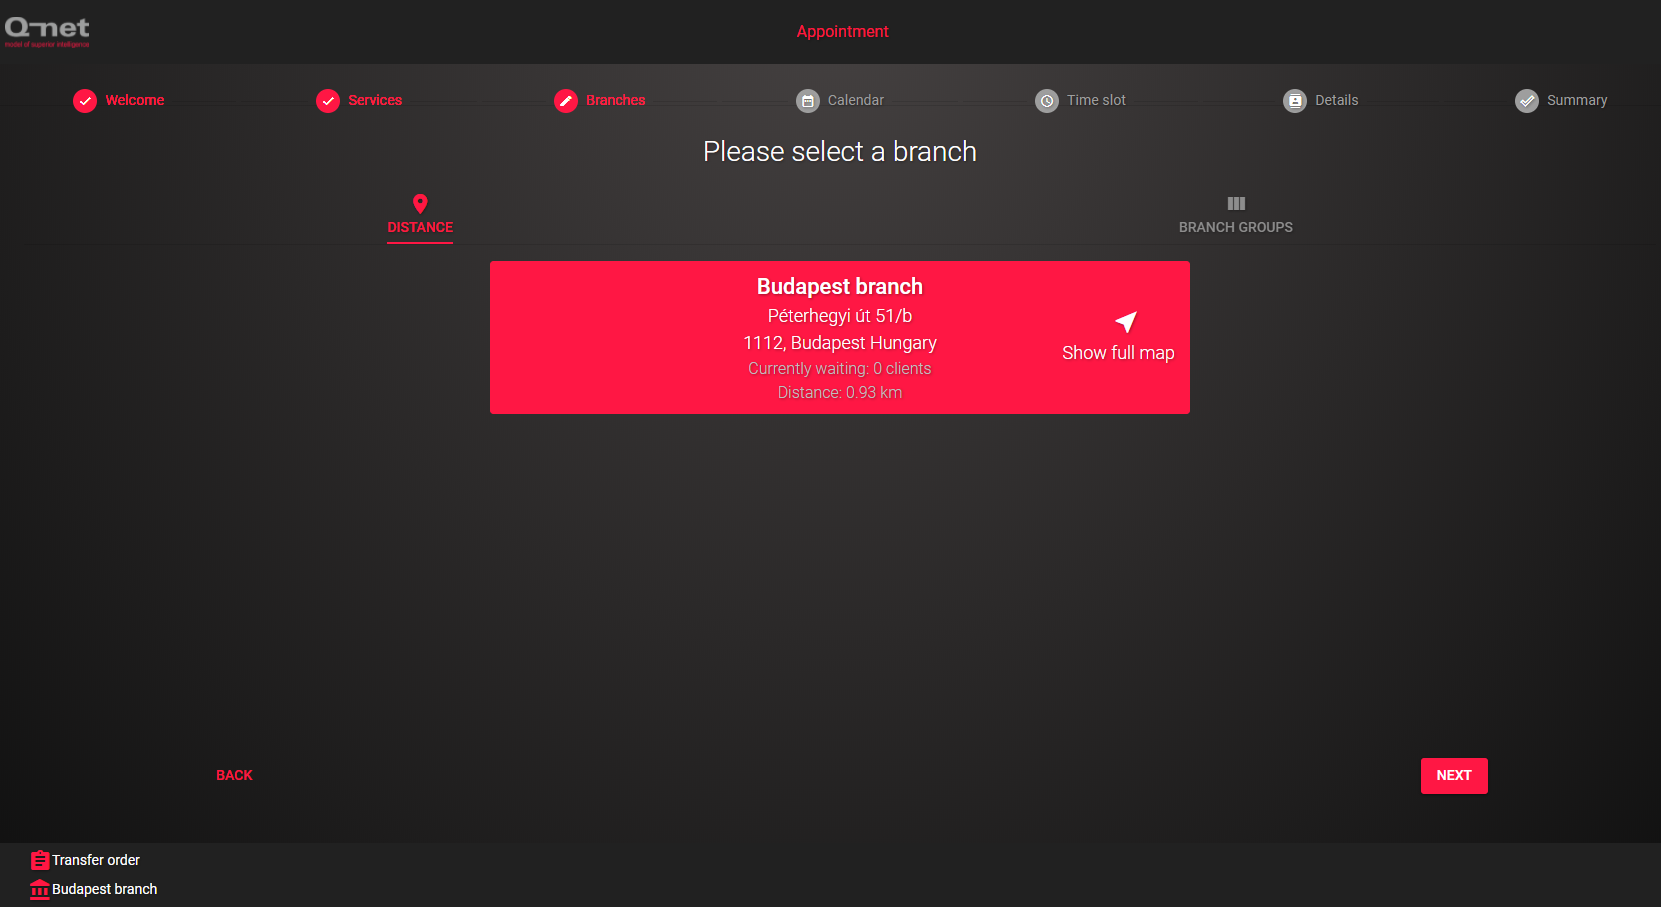
If you filled the Branch address fields and you have SSL certificate the distance from you to the selected branch is displayed. Also you can open Google Maps via clicking on the Show full map icon.
Clicking NEXT will navigate you to the date selection part.
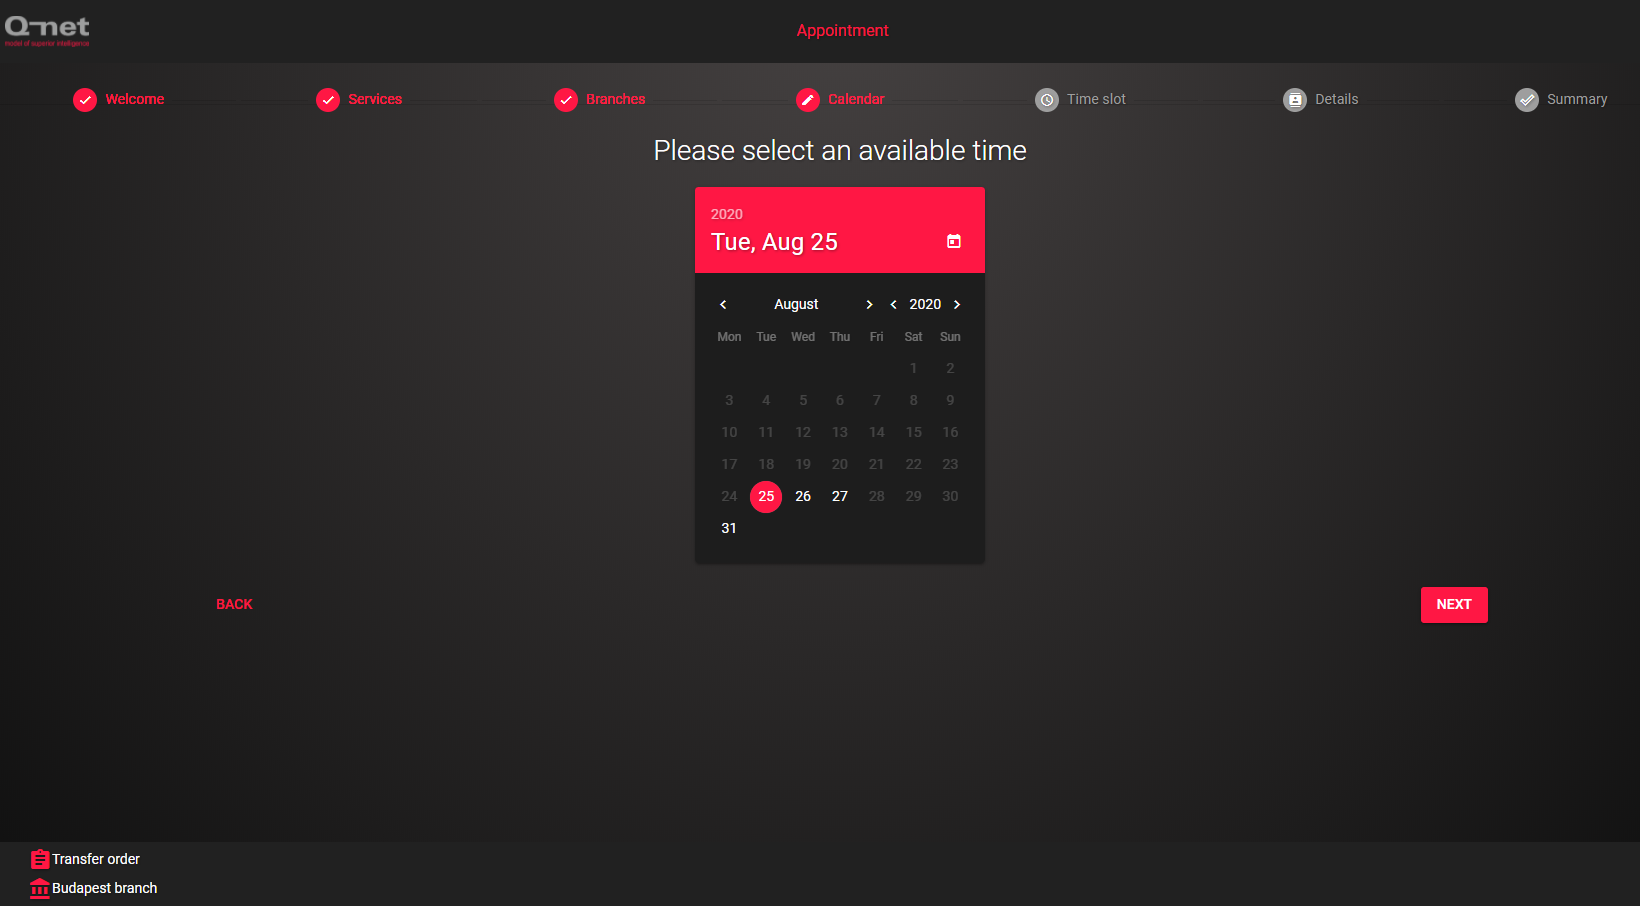
Date selection
At this part of the process you can select the day and month of your reservation from the available opportunities.
Booking settings
Clicking NEXT will navigate you to the time selection part.
Time selection
Here you can select the exact time of your appointment from the list of available time slots which can also be modified at Booking settings.
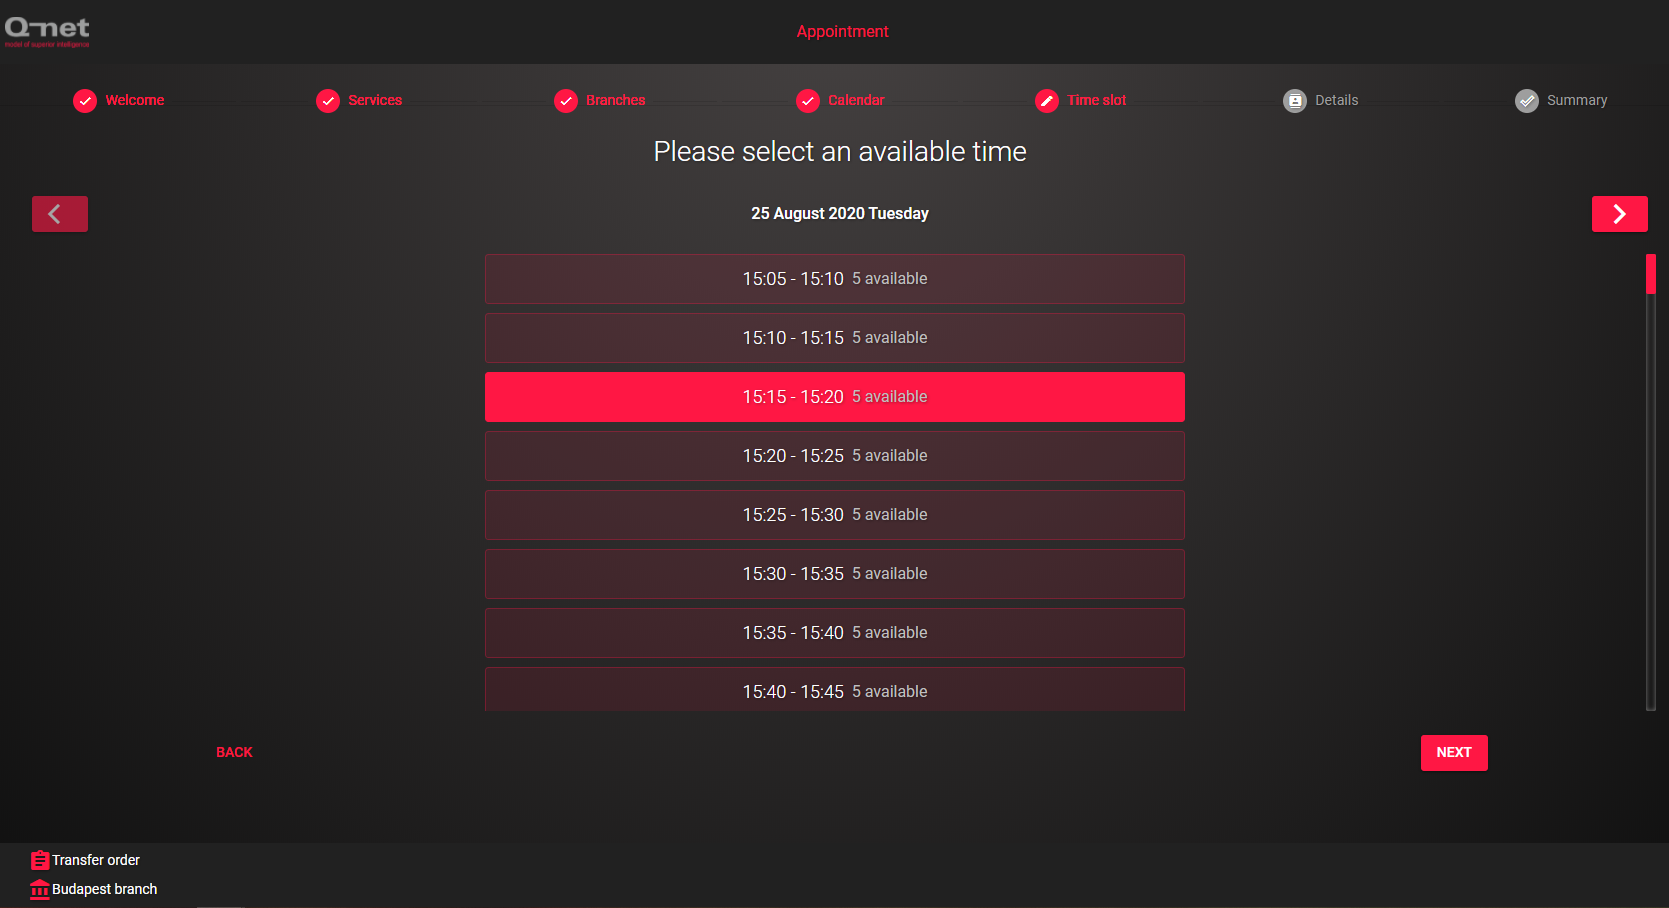
With the help of the arrows on the top left and top right corners you can easily change days.
Clicking NEXT will navigate you to the contact details part.
Contact details
At this part you have to fill all fields with your contact details such as Name, E-mail and Phone number.
Captcha function can be turned on/off at Appointment parameters.
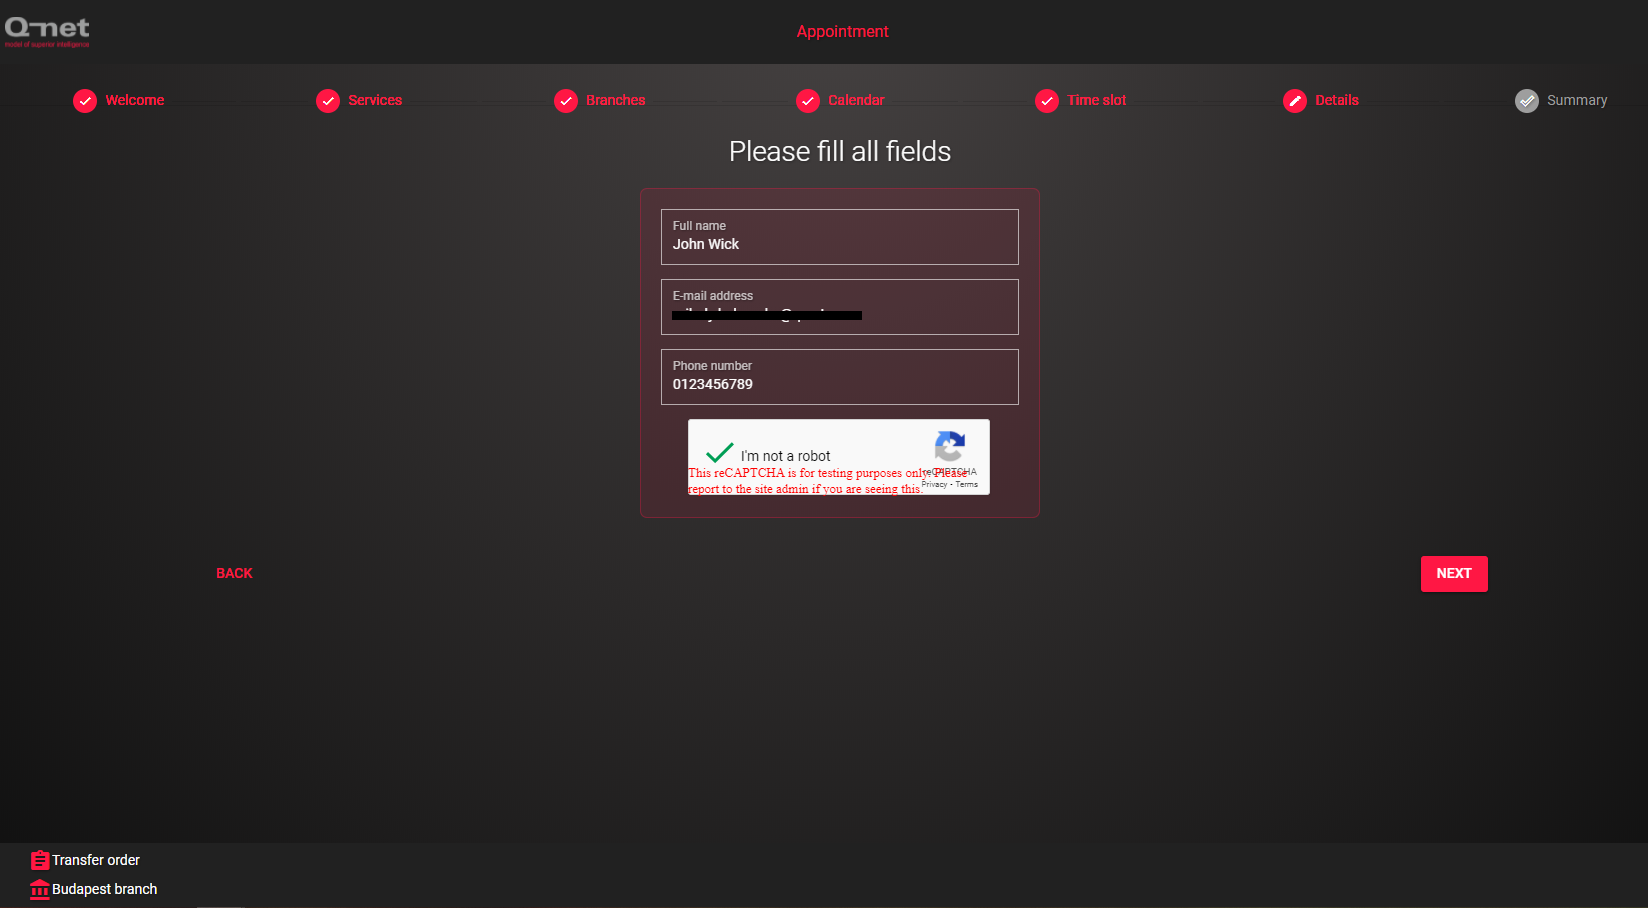
Note: You have to enter a valid email address for the confirmation link.
How to setup SMTP
Clicking NEXT will navigate you to the summary.
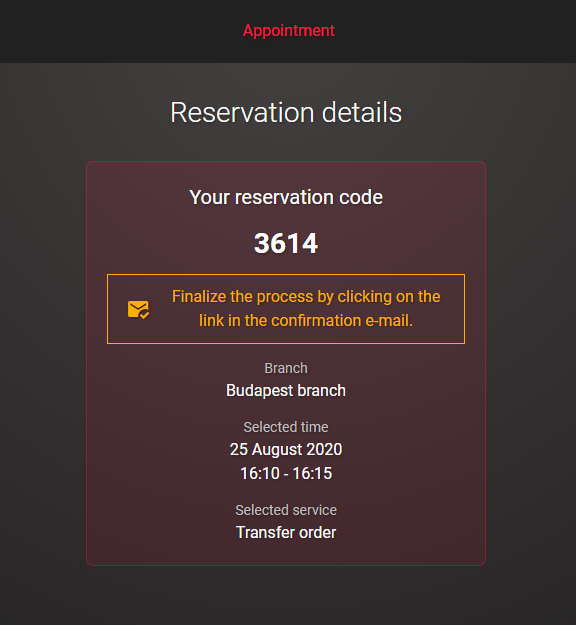
Summary
Here you can see the summary of your appointment booking details. If you see any mistake you can go back by clicking the BACK button.
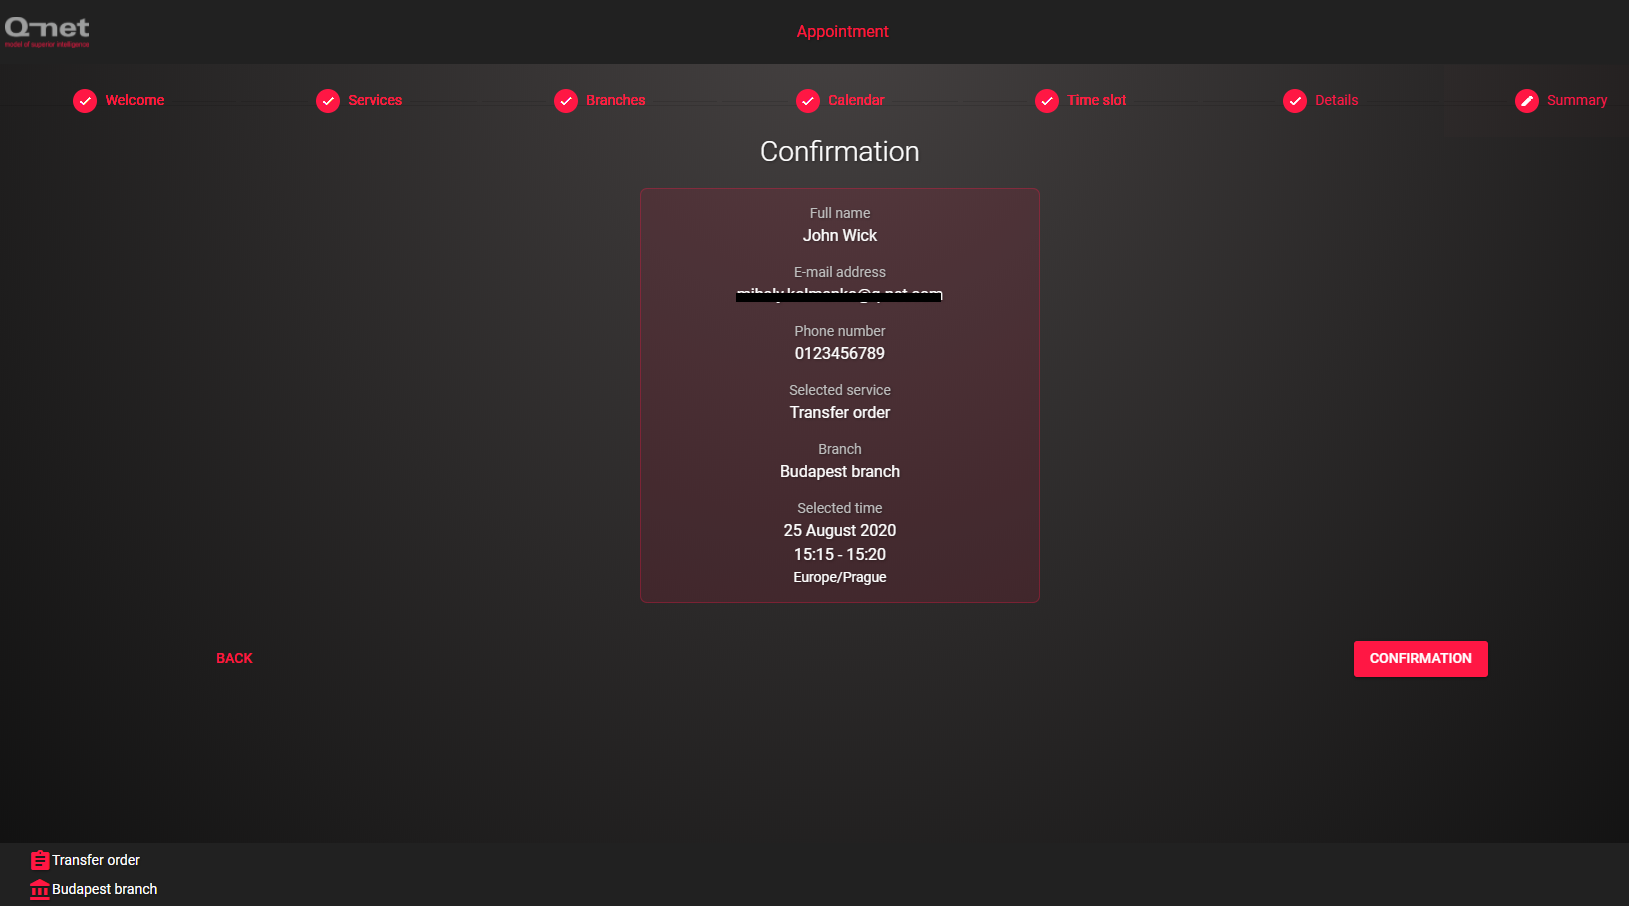
If evertyhing seems fine, click on the CONFIRMATION button.
If you are seeing the notification window on the appointment page means you did well. All you have to do now is to confirm your booking via clicking on the confirmation link in the received e-mail.
Note: Make sure to check ALL of the e-mail folders.
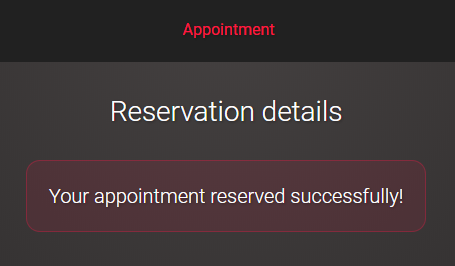
After successful confirmation you are ready to go to the Branch at the given date and time.
If you would like to delete your reservation that can be done too via the received email by clickin on the delete reservation link.